The quick answer
You can convert a DOCX to PDF in Microsoft Word by choosing File > Save As or Export > Create PDF/XPS. That works well for invoices, forms, school papers, and general documents.
For book printing, especially through KDP, IngramSpark, or a commercial printer, a simple export often is not enough. Your PDF needs to match the final trim size, preserve typography, handle front matter correctly, and avoid layout surprises after upload.
DocToPrint is built for that printing use case. You upload a Word DOC or DOCX manuscript, review the detected book sections, choose print formatting options, preview the result, then generate a print-compliant PDF interior.
How to convert a DOCX file to PDF for printing
1. Start a new book project
From your DocToPrint dashboard, start a new project and enter the book title, subtitle if you have one, and author name. These details help label the project and can also support title-page generation later.
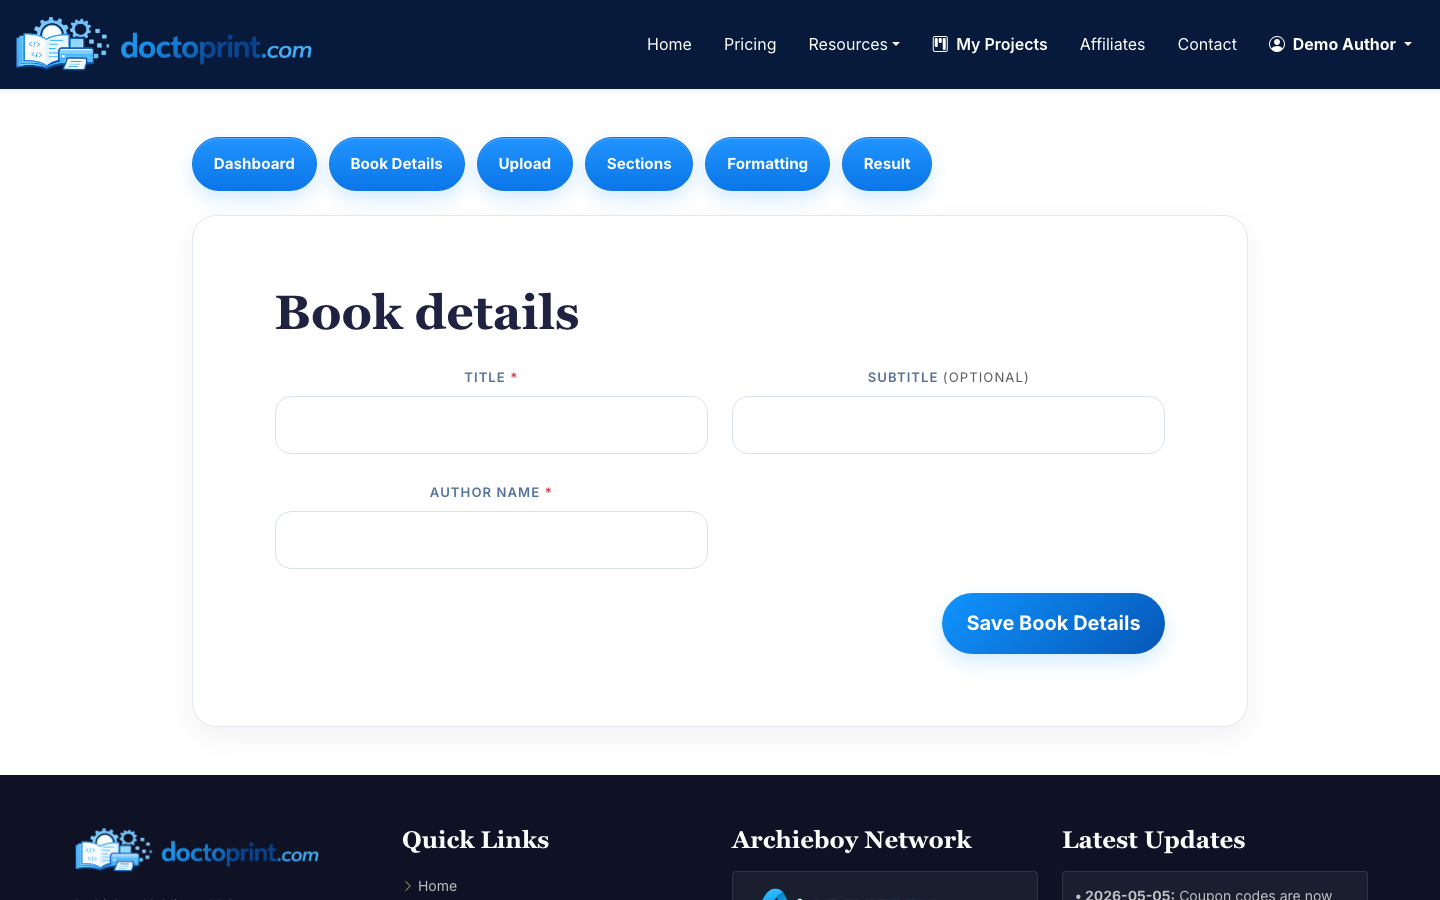
Keep the title and author name consistent with your cover, copyright page, and publishing platform metadata. Small mismatches are easy to miss until you are reviewing proofs.
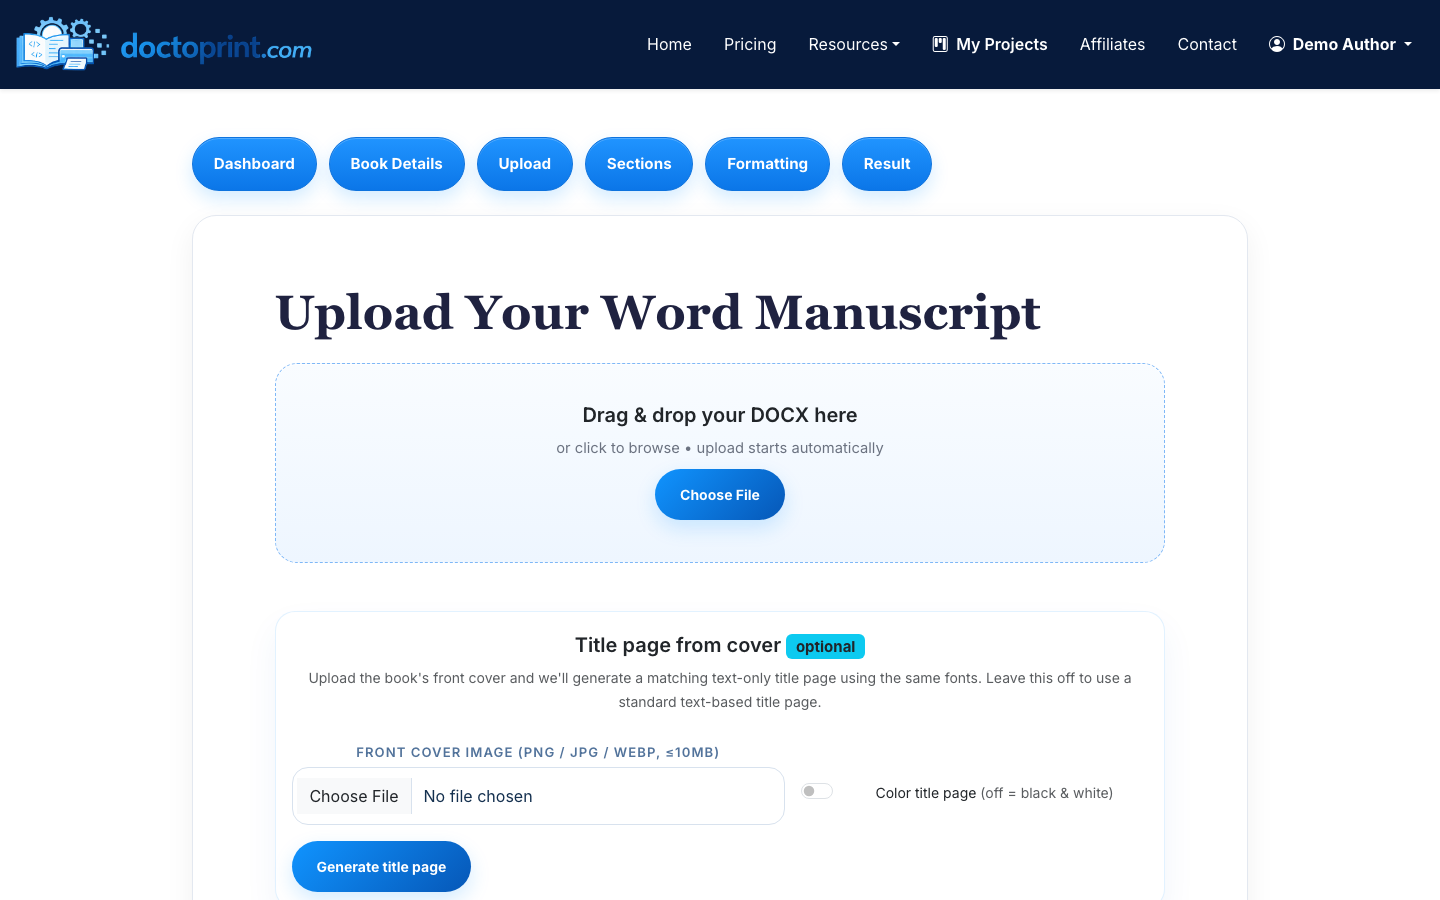
2. Upload your DOCX manuscript
Go to the print upload step and drag in your manuscript file. DocToPrint accepts DOC and DOCX files up to 50 MB.

Before uploading, remove comments, tracked changes, and placeholder text you do not want printed. If your manuscript uses images, make sure they are inserted into the Word file rather than linked from your computer.
3. Review the detected sections
DocToPrint uses AI section detection to identify chapters, front matter, and back matter. Review this carefully before formatting, because the section structure affects where chapters begin, how page numbering behaves, and what appears in the final PDF.

You can reorder, rename, or edit sections inline. For example, you might move acknowledgments from the front matter to the back matter, rename “Chapter One” to “Chapter 1,” or fix a section that was detected as a chapter when it should be a preface.
This step is worth a close pass. A manuscript can look fine in Word while still having inconsistent headings underneath. Correcting those issues before PDF generation saves time later.
4. Choose print formatting options
Next, choose the physical and visual settings for the book interior. DocToPrint supports common trim sizes including 5x8, 5.5x8.5, 6x9, and 8.5x11. You can also choose body and heading fonts, cream or white paper, drop caps, chapter numbering style, page-number position, and whether chapters start on recto pages.
If you are publishing fiction, 5x8, 5.5x8.5, and 6x9 are common choices. Nonfiction, workbooks, and manuals often use 6x9 or 8.5x11, depending on how much room tables, diagrams, or exercises need.
5. Generate a free watermarked preview
Use the free watermarked preview before spending a credit. Review the PDF like a proof, not like a Word document. Check chapter openings, page numbers, blank pages, front matter order, widows and orphans, image placement, and whether headings feel consistent.
If something looks off, go back to the section editor or formatting screen and adjust it before generating the clean PDF.
6. Download the clean print-ready PDF
Once the preview looks right, spend one credit to generate the final file. The result page gives you a clean print-ready PDF download and the DOCX source download. Links auto-refresh after their 24-hour expiry window, so you can come back later if needed.

This is the file you would upload as your interior PDF to your print platform or send to your commercial printer. If you need a matching cover or help with distribution, the result page also includes one-click handoff options for BookCovers.pro and SelfPublishing.pro.
How this differs from saving DOCX to PDF in Word
When people ask “how do I save a DOCX file as a PDF,” they are often asking about Word’s built-in export. That path is simple:
- Open the DOCX in Microsoft Word.
- Choose File > Save As or File > Export.
- Select PDF as the file type.
- Save the file.
That is fine for everyday documents. It is less reliable for book interiors because Word is not checking whether the PDF is formatted for your intended trim size, page-number rules, publishing platform expectations, or book section structure.
DocToPrint does not just change DOCX to PDF. It turns the manuscript into a formatted print interior, with controls that matter for paperback and hardcover production.
Before you upload to KDP, IngramSpark, or a printer
After downloading your PDF, open it in a PDF viewer and scan the full file. Pay special attention to the first 20 pages, every chapter opening, pages with images, and the final few pages. Most print-layout mistakes show up in those places.
If you are still preparing the source manuscript, read How to Format a Word Document for Book Printing. If you already have a PDF and want to check its readiness, see How to Make a PDF Print Ready. For the broader publishing workflow, use How to Prepare a Manuscript for Self Publishing.
Pricing and credits
DocToPrint uses one-time credit packs, not a subscription. A single credit is $19, 10 credits are $139, and 25 credits are $237. Credits never expire, and you can generate a watermarked preview before spending one.
That makes sense if you format books occasionally, revise a project over time, or manage multiple manuscripts but do not want another monthly tool bill.
