What “Print Ready” Means
When people ask, “how do you make print ready PDF files?”, they usually mean one of two things:
- A PDF that looks polished on screen
- A PDF that a printer can actually manufacture from
Those are not the same. A print-ready book interior needs predictable page geometry, embedded fonts, consistent paragraph styles, correct section order, and page numbers that land where readers expect them. For self-publishing platforms, it also needs to match the trim size and paper choices you selected during setup.
For most authors, the cleanest way to create a print ready document from Word is to start with a well-prepared DOCX, then generate the PDF through a book-formatting tool rather than using Word’s default “Save as PDF” export.
For the full book-output workflow after cleanup, see how to print a Word document as a book.
Step 1: Start a New Book Project
Open DocToPrint and create a new project. Enter the book title, subtitle if you have one, and author name. These details help label the project and can also be used later if you generate a matching title page.
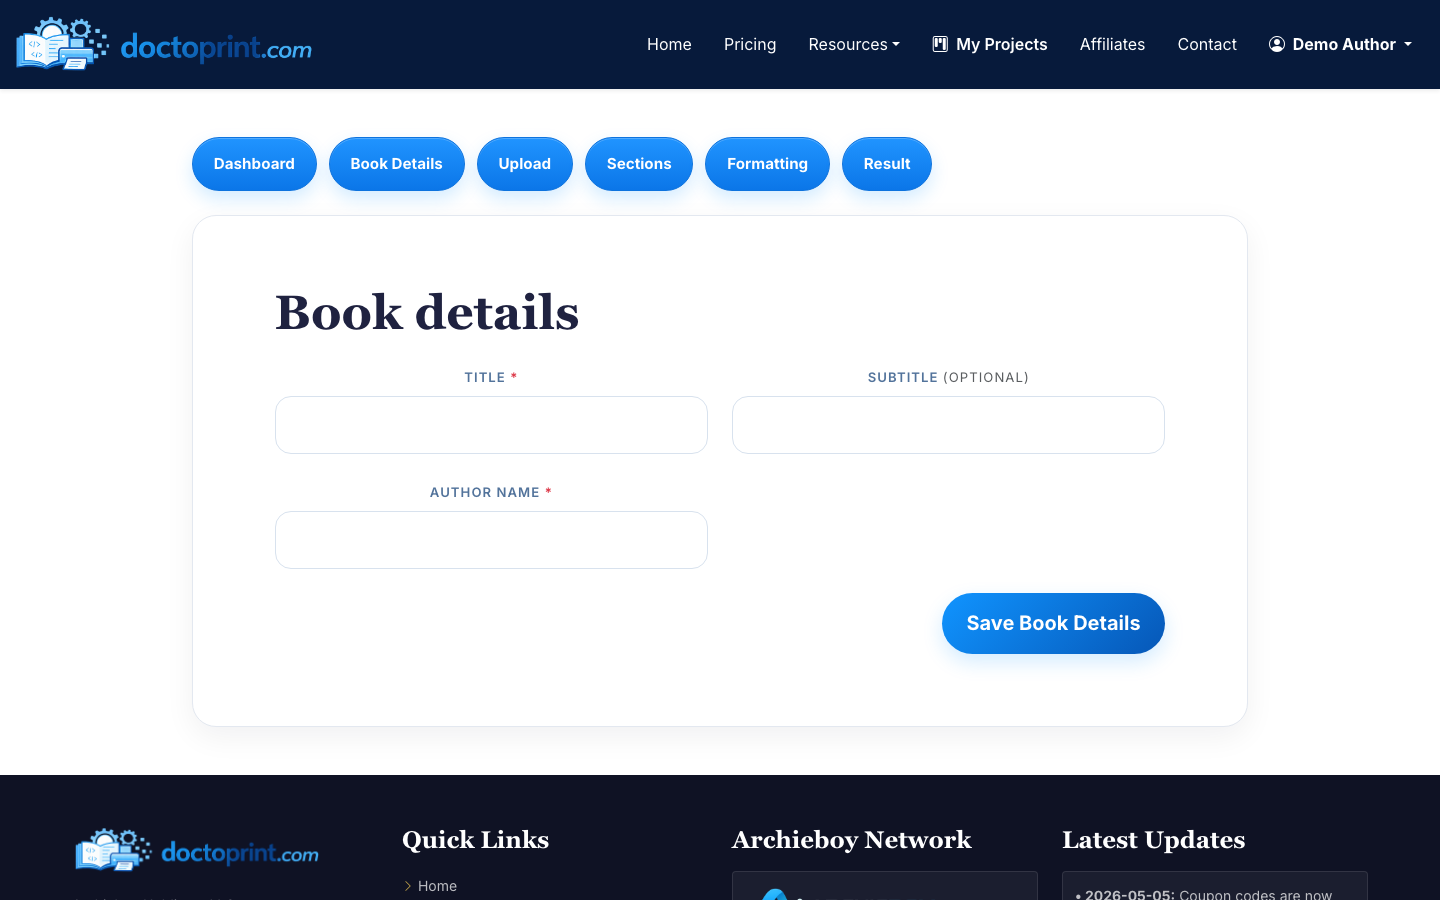
Use the exact title and author name you plan to publish with. Small spelling or punctuation differences can create extra cleanup later when you match your interior PDF to a cover or distribution listing.
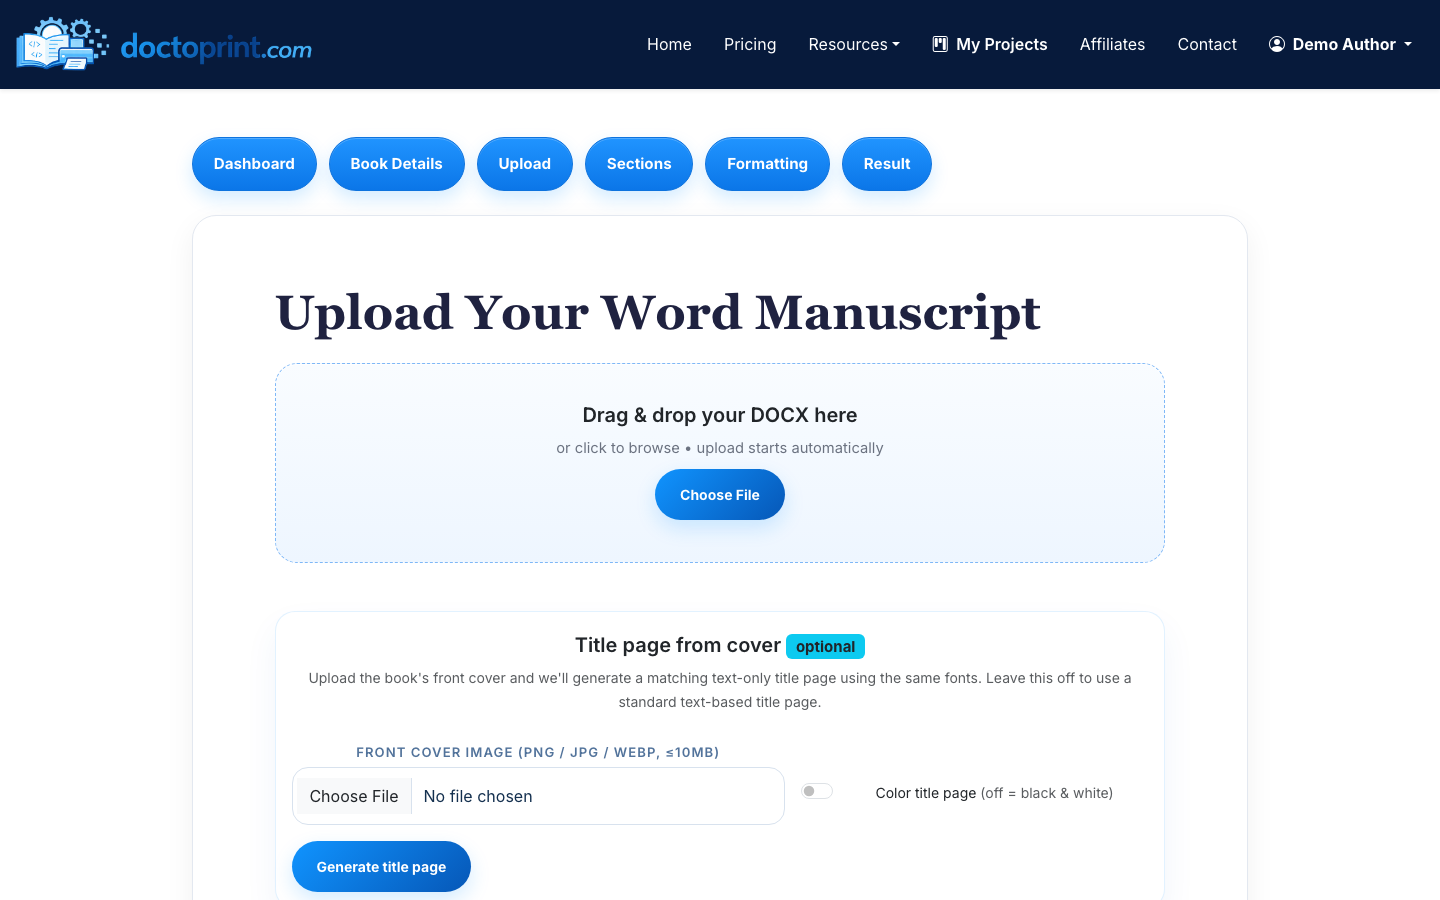
Step 2: Upload Your Word Manuscript
Upload your manuscript as a DOC or DOCX file. DocToPrint accepts Word files up to 50 MB. If your file is larger than that, reduce embedded image sizes or remove unused drafts before uploading.

Before uploading, do a quick pass in Word:
- Remove tracked changes and comments
- Use consistent heading styles for chapter titles
- Delete blank pages created with repeated paragraph returns
- Keep front matter, chapters, and back matter in the intended reading order
If you are still cleaning up the manuscript itself, start with How to Format a Word Document for Book Printing before generating the PDF.
Step 3: Review Detected Sections
After upload, DocToPrint uses AI section detection to identify chapters, front matter, and back matter. Review this screen carefully. This is where you catch structural issues before the PDF is generated.
Check that:
- Copyright, dedication, table of contents, foreword, and introduction are marked as front matter where appropriate
- Chapter titles are detected as chapters, not normal body paragraphs
- Acknowledgments, author bio, notes, or appendices are placed after the main text if they belong in back matter
- Sections appear in the right order
You can reorder, rename, and edit sections inline. This matters because book interiors usually treat front matter differently from the main body. For example, front matter may use roman numerals or no visible page numbers, while chapter one typically starts the main numbering sequence.
Step 4: Choose Print Formatting Options
Next, choose the physical and typographic settings for the book interior.

The key choices are:
- Trim size: 5x8, 5.5x8.5, 6x9, or 8.5x11
- Body font and heading font
- Paper color: cream or white
- Chapter heading style
- Drop caps or no drop caps
- Chapter numbering style
- Page-number position
- Whether chapters start on recto pages
For most novels, memoirs, and narrative nonfiction, 5.5x8.5 or 6x9 are common choices. For workbooks, manuals, or books with large tables, 8.5x11 may be more practical. Cream paper is often used for fiction and memoir; white paper is usually better for books with images, worksheets, or a more technical feel.
Step 5: Generate a Free Preview
Generate the preview before spending a credit. The preview is watermarked, but it lets you inspect the actual interior layout: margins, headings, page numbers, blank pages, and chapter starts.
When reviewing the preview, check at least these pages:
- Title page and copyright page
- First page of the table of contents, if included
- First page of chapter one
- A few chapter-opening pages in the middle of the book
- Pages with lists, block quotes, images, or unusual formatting
- Final back matter pages
If something looks wrong, go back and fix the source structure or formatting choices before generating the final PDF. This is much faster than trying to repair a finished PDF afterward.
Step 6: Download the Print-Ready PDF
Once the preview looks right, spend one credit to generate the final clean PDF. The result page gives you a downloadable print-ready PDF and the DOCX source download. Links refresh automatically after their 24-hour expiry window.

You can upload the PDF interior to KDP, IngramSpark, or send it to a commercial printer. If you also need cover support, DocToPrint includes a one-click handoff to BookCovers.pro for a matching cover. If you want help with distribution, you can hand off to SelfPublishing.pro.
For a broader walkthrough of the DOCX-to-PDF conversion path, see How to Convert DOCX to PDF for Printing. If you are preparing the whole publishing package, use How to Prepare a Manuscript for Self Publishing as your checklist.
Final Checks Before Uploading to a Printer
Before you submit the file, confirm:
- The PDF page size matches your selected trim size
- Page numbers appear where you want them
- Chapter openings are consistent
- No body text is too close to the binding edge
- Fonts display correctly in the PDF viewer
- Blank pages are intentional
- Images, tables, and special formatting did not shift
