Before you start
A clean manuscript makes the formatting step much easier. You do not need to manually design every page in Word, but you should remove obvious problems before upload:
- Use one manuscript file, preferably DOCX.
- Keep the file under 50 MB.
- Put chapters, front matter, and back matter in the order you want readers to see them.
- Remove tracked changes, unresolved comments, and duplicate title pages.
- Use clear chapter headings instead of manually enlarged body text.
For a broader production checklist, see How to Prepare a Manuscript for Self Publishing.
When the manuscript is ready and you want the output steps, continue with how to print a Word document as a book.
1. Start a new book project
From your DocToPrint dashboard, create a new project and enter the book title, subtitle if you have one, and author name. These details help label the project and may also be used in generated interior elements such as the title page.
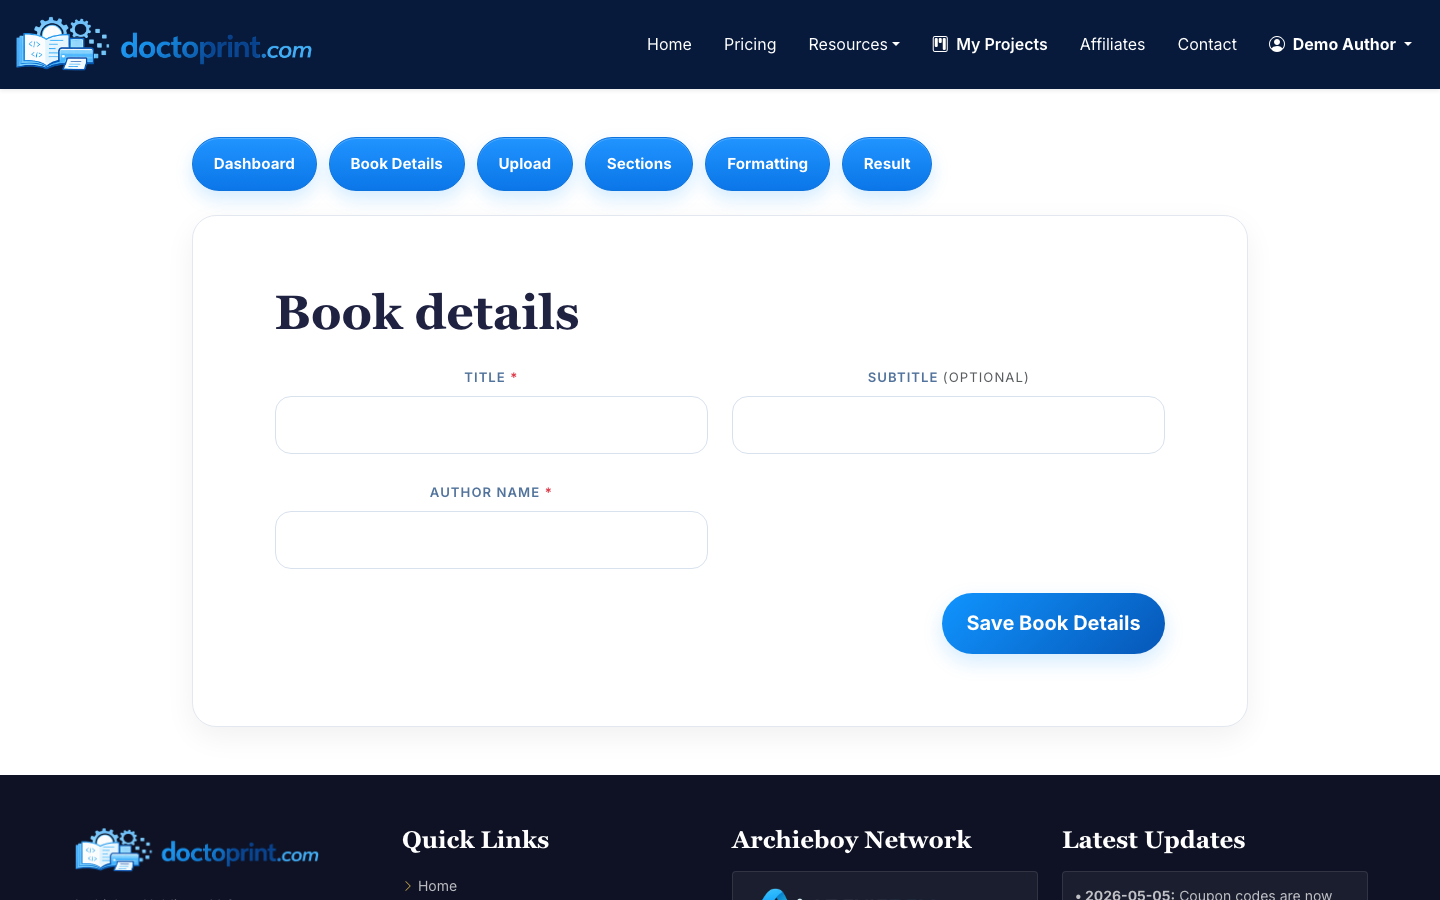
Use the final spelling and capitalization you want in the book. For example, decide whether your subtitle uses title case or sentence case before you generate files.
2. Upload your Word manuscript
Upload your DOC or DOCX file on the print upload screen. DocToPrint accepts Word files up to 50 MB and uses the manuscript structure to detect chapters, front matter, and back matter.
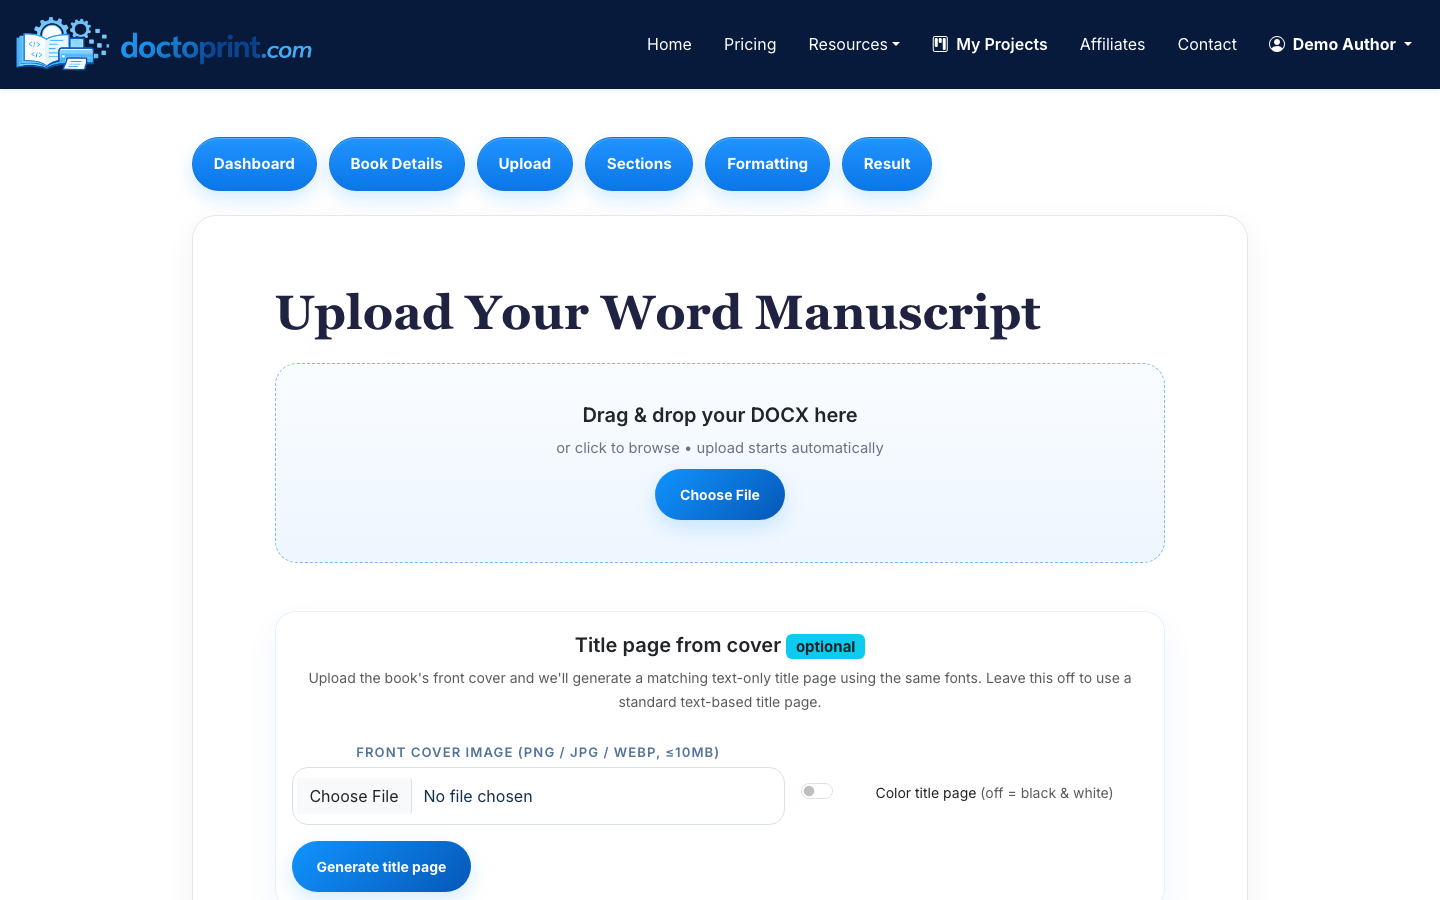
If you are wondering how to set up a Word document for printing before upload, keep it simple: use real paragraph breaks, avoid manual page-number typing, and do not build complex headers or footers in Word unless your printer specifically requires them. DocToPrint will handle the print layout settings in the next steps.
3. Review detected sections
After upload, review the AI-detected sections. This is where you confirm what counts as front matter, chapters, and back matter. You can reorder sections, rename them, or edit text inline before formatting.

Common front matter includes:
- Title page
- Copyright page
- Dedication
- Table of contents
- Foreword or preface
Common back matter includes:
- Acknowledgments
- About the author
- Also by the author
- Reader resources
This step matters because book printing depends on sequence. A chapter accidentally marked as front matter can affect page numbering and chapter styling. A dedication placed after chapter one will look like a production mistake even if the PDF technically passes upload checks.
4. Choose trim size and paper color
Next, choose the physical book size. DocToPrint supports 5x8, 5.5x8.5, 6x9, and 8.5x11.

For most text-heavy books, 5x8 and 5.5x8.5 feel compact and portable. A 6x9 trim is common for nonfiction, memoir, and trade paperbacks. Use 8.5x11 only when the content needs a larger page, such as workbooks, manuals, or image-heavy interiors.
Paper color also affects the reading experience. Cream paper is common for novels, memoirs, and narrative nonfiction because it feels softer for long reading sessions. White paper is usually better for workbooks, technical material, books with images, or anything where contrast matters.
5. Pick body and heading fonts
Choose a readable body font first. The body font does most of the work in a printed book, so avoid novelty fonts or anything that looks good only at large sizes. Then choose a heading font that gives your chapters a clear hierarchy without overpowering the page.
A practical rule: if readers notice the body font before they notice the writing, the font is probably too loud. Book interiors usually work best when the typography feels quiet, consistent, and easy to scan.
6. Set chapter styling and page numbers
Configure chapter heading style, drop caps, chapter numbering, recto chapter starts, and page-number position on the formatting screen.
Recto chapter starts mean new chapters begin on the right-hand page. This is common in many professionally printed books, but it can add blank pages and increase total page count. For a short book where every page affects print cost, starting chapters on the next available page may be more economical.
Page-number position is also a design choice. Bottom center is simple and works for many books. Outer corners can feel more traditional, especially in longer paperbacks.
7. Generate a free watermarked preview
Before spending a credit, generate and inspect the free watermarked preview. Check the book like a printer would:
- Do chapters start where expected?
- Are page numbers present and consistent?
- Are front matter pages styled appropriately?
- Are headings, drop caps, and spacing comfortable?
- Are there awkward blank pages?
- Does the trim size fit the type of book?
This is the best time to go back and adjust sections or formatting. Once the preview looks right, spend one credit to generate the clean print-ready PDF.
8. Download the print-ready PDF
After generation, download the print-ready PDF interior. DocToPrint also provides the DOCX source file and handoff options for matching cover design or distribution help.

Your download links refresh automatically and expire after 24 hours, so open the result page again if you need fresh links later.
If you want to understand the PDF side of the process in more detail, read How to Convert DOCX to PDF for Printing and How to Make a PDF Print Ready.
Final print check
Before uploading to KDP, IngramSpark, or sending the file to a commercial printer, review the PDF at actual size if possible. Look for widows, awkward headings, missing section breaks, and pages that seem unexpectedly blank.
The goal is not to make every page identical. Printed books naturally have variation. The goal is to make the document consistent enough that the reader never has to think about the formatting.
