Print book formatting for paperback interiors
DocToPrint formats the inside of your book: chapters, margins, trim size, fonts, page numbers, drop caps, section order, and a clean print-ready PDF export.
Built for Word manuscripts
Upload a DOC or DOCX manuscript and keep the workflow focused on the source files most authors already have.
Interior layout controls
Choose trim size, paper color, font pairings, line spacing, chapter starts, page numbers, and section dividers.
Preview before paying
Generate a free watermarked preview first, then spend one credit when you want the clean print PDF and Word source.
A focused route from manuscript to files.
DocToPrint stays intentionally narrow: Word manuscript in, structured book interior out.
-
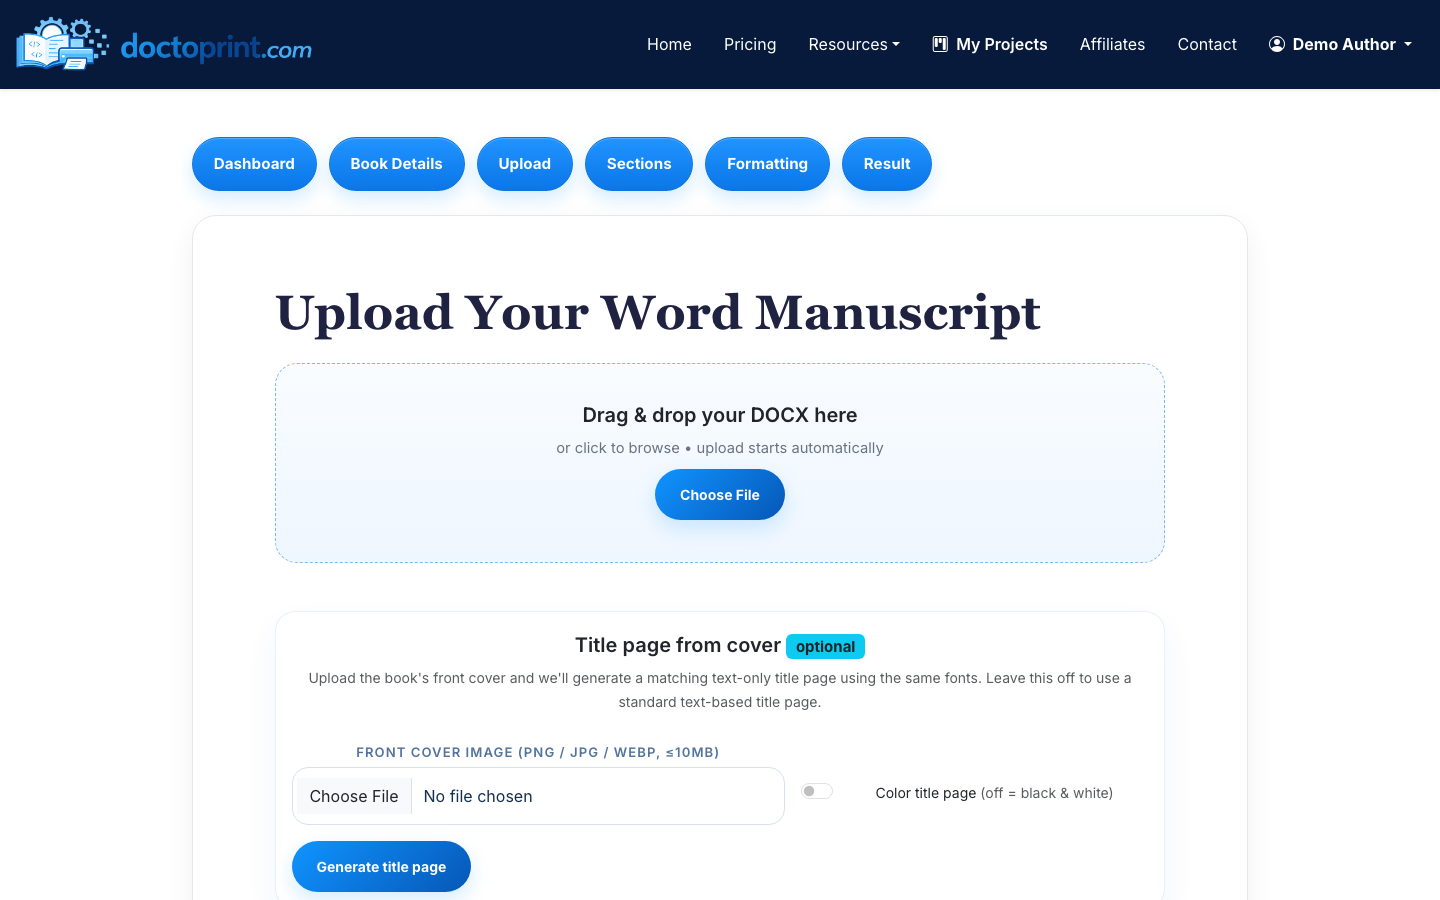
1Upload your Word manuscript.
-
2Review detected chapters, front matter, and back matter.
-
3Choose print settings and download the finished interior files.
Best for manuscript interiors.
- You already have the text in Word and need the inside pages formatted.
- You want a paperback or hardcover PDF rather than an ebook-only file.
- You need to inspect a preview before paying for the clean download.
Not the right tool for
- Full cover wraps with spine and back-cover design.
- Magazine-style layouts with custom art direction on every spread.
- Proofreading or developmental editing before layout.
What a printer means by a formatted interior
Print-on-demand services do not typeset your book. They print exactly the PDF you give them, page for page, so every layout decision has to be settled before upload. That means a document whose page size equals the trim size, margins wide enough that text does not vanish into the glued edge, and a page count the cover was built around.
The margin point is the one that catches people out. Print margins are asymmetric: the inside edge needs more room than the outside because part of it disappears into the binding, and the extra room grows with page count. A 400-page paperback needs a visibly deeper gutter than a 120-page one.
The order of operations
Formatting is not the last step before publishing — it is the step that makes the last steps possible, because the cover cannot be finished until the interior sets the page count and therefore the spine width.
- Finish the text. Formatting a manuscript that is still being edited means formatting it twice.
- Style the headings. Heading 1 for chapters, Heading 2 and 3 for subsections. This is what the parser reads.
- Choose the trim size. Everything downstream — margins, page count, spine — follows from this one choice.
- Format and proof the interior. Read the watermarked preview as a reader would, looking for orphaned headings, stray blank pages and a contents page whose numbers match.
- Then commission the cover. With the final page count in hand, the spine width is a known quantity.
What DocToPrint decides for you
Mirrored margins scaled to the page count, chapter openings with consistent drop and optional drop caps, running heads that carry the book title on one side and the chapter on the other, roman numerals through the front matter with arabic numbering from chapter one, and a contents page generated against the real pagination rather than typed by hand.
What it leaves to you: trim size, paper colour, the font pairing, line spacing, whether chapters force a right-hand start, and where the page numbers sit.
Step-by-step guides
What to know before you upload
What trim size should I choose?
6 x 9 inches is the default for non-fiction and general trade paperbacks. 5 x 8 and 5.5 x 8.5 suit fiction and memoir and feel more like a novel in the hand. 8.5 x 11 is for workbooks, manuals and anything with exercises.
Does this format the cover too?
No. DocToPrint builds the interior. Format the interior first, take the final page count, and have the cover built to that spine width.
Can I use it for a hardcover?
Yes — the interior PDF is the same file. Hardcover and paperback differ in the case and the cover specification, not in the pages.
How long does formatting take?
Generation is a matter of minutes for a normal-length manuscript. The time that actually goes into a book is you reading the preview.
Related DocToPrint pages
See the formatted preview before you spend a credit.
Upload your manuscript, review the watermarked PDF, and pay only when you want the clean print-ready download.